
Last week we made changes to our source slides but what if those changes aren’t appearing on previously built slides? Maybe the changes worked on our slides where the content wasn’t yet inserted so why does the computer hate us? Microsoft sucks. Nothing works! Are we done whining yet or do you need a few more moments? It’s understandable.
Below, we have bulleted text that is in the correct font, but the header isn’t, and the slide numbers are missing.

And then on the first slide, our logo is gone. Not there. Poof! Bye-bye.

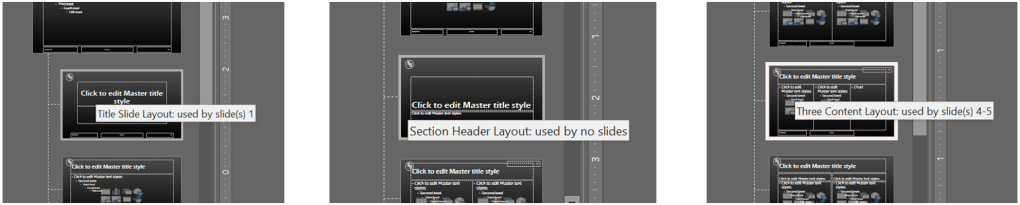
We have a few different things happening here. First, go back to your Slide Master View. On the left sidebar menu as you hover over each source layout, you’ll see the system telling you which slides use that layout.
My first and easiest issue to fix is the page/slide numbers. Let’s click the source Master Slide (the biggest one) and go over to the Insert ribbon, then to the Text group and click Header & Footer. Apparently, when we added slide numbers we didn’t click Apply All. Check the box again, and click Apply All. Go back to your slides to check that the numbers are there. It appears they are except on our slide that includes a photo in that area. This could explain why our logo is missing from the first slide – a photo is covering up.

But first, check the Slide Master tab to ensure that the check box for Hide Background Graphics (found in the Background group) isn’t checked on the source layouts we’re using. You can toggle the checkbox on each source slide (it’s grayed out on the Master Slide) if you don’t want to go through every layout.

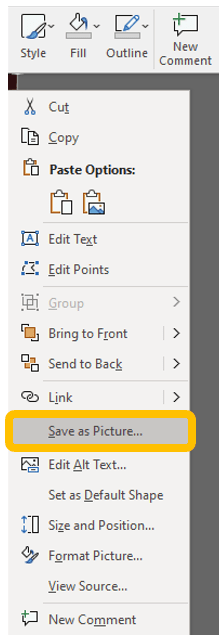
Check your slides again. We still have the logo issue. Now we could try to alter the layout on the source again to ensure that photos aren’t covering up graphics (slide numbers are graphics in this case). But these slides were both created using Design Ideas. (Don’t worry I’m working up to what that is in later posts.) Which means they don’t follow the traditional layout. With the first title slide, we have an image sitting on top of our other graphics. You might be tempted to take the image that is sitting on top and add it to the source layout as an image. Won’t work. We have a few problems with this title slide. Number one we can’t see the logo because it’s an image sitting on top of the logo. You can resolve that by selecting the image, right-clicking, and choosing Save as Picture from the mouse menu.
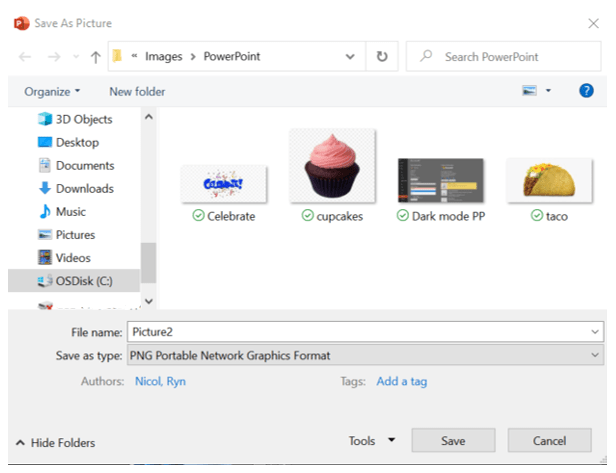
This will open the Save As Picture window, where you can browse to find the folder where you want to save the image.
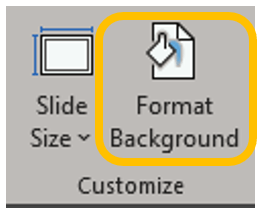
Now delete the image from the slide and head over to the Design ribbon and way over to the right in the Customize group click Format Background.
When the sidebar appears, if it doesn’t open on the paint bucket, click the paint bucket. Set the image as a background picture. If you don’t know how to do this step, see the section Picture or Texture Fill in the Backgrounds chapter Now our logo will appear over the image. Our example, however, still has issues. Remember how busy our image is?

Our logo is thin and even if we get our logo to show like below, it doesn’t show very well.
Be conscious of how much is going on visually so as not to distract or blind the viewer. In this case, you can either revert to the overlay version where you can’t see the logo or find a different photo. As for the other slide with a photo sitting over the slide number, you can change where the image sits or change where the slide number appears on that layout.
