Wondering about the difference between the Define New Multilevel List and Define New List Style commands? List styles can be named, shared, modified, and deleted, unlike multilevel lists. If you use the Define New List Style command when you make changes to the new style, every instance of that style is updated in the document thereafter.
This feature is useful in the following instances.
- unconventional number schemes (e.g., First, Second, Third, etc. or 00001, 00002)
- numbering levels with irregular indents
- numbering levels linked to user-defined styles, which is particularly helpful if you have a document with multiple writers/revisers who may potentially add their own multilevel lists from other documents, thereby messing up your lists
- using the list in different documents
- the font for number formatting is different from the style it is linked to
- other users being able to choose a list by name
- appendix numbering
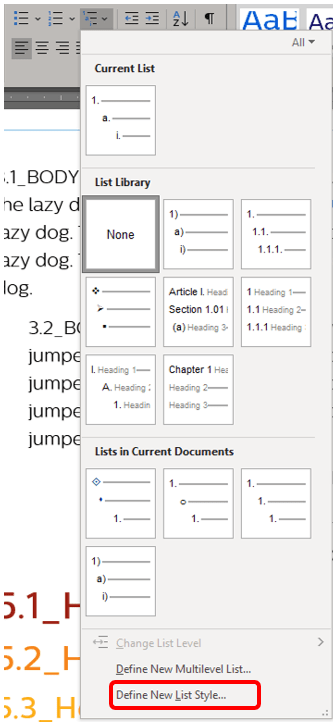
Think of this as a quick style for the Style Gallery but specifically tailored to lists. From the Home ribbon, in the Paragraph group, click the down arrow button next to the Multilevel list option to find Define New List Style.
When you click the option, the Define New List Style popup will appear.
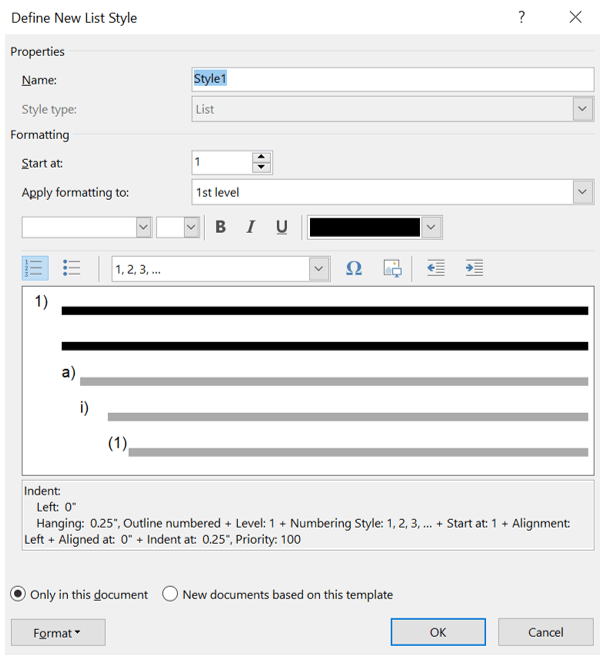
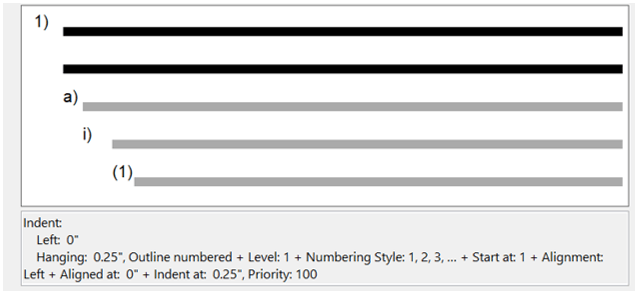
Be aware that any changes you make will appear in the preview and be described below that preview.
From this window, in the Properties section, you may insert a name for your new list style. The Style type is grayed out, as the type will always be List in this window. If you were to create a New style from formatting, you could choose List from the Style type dropdown and the window would transform to look like the images in this section.

From the Formatting section, select the number from which you want the list to start. This defaults to 1.

From the Apply formatting to dropdown, pick the list level to which your style will apply. This level will appear in black, as opposed to the gray levels, as shown in the preview provided below this section. For instance, if you move from the default of the 1st level to the 5th level, the preview will update to show what the 5th level currently looks like in black, even if all your text is in blue.
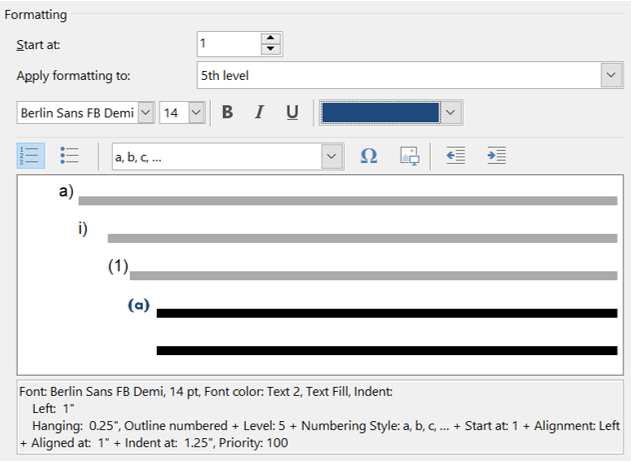
Below that, you may indicate the font, size, format feature (bold, italic, underlined), and color for the list style. These are blank, and the color defaults to black. The blanks indicate that the font used will be based on the Normal style.

The next line down will allow you to change the style of the numbered list to a bulleted list by clicking the button.

The drop-down is to change the type of sequence (e.g., numerals, letters, etc.) for the selected level.

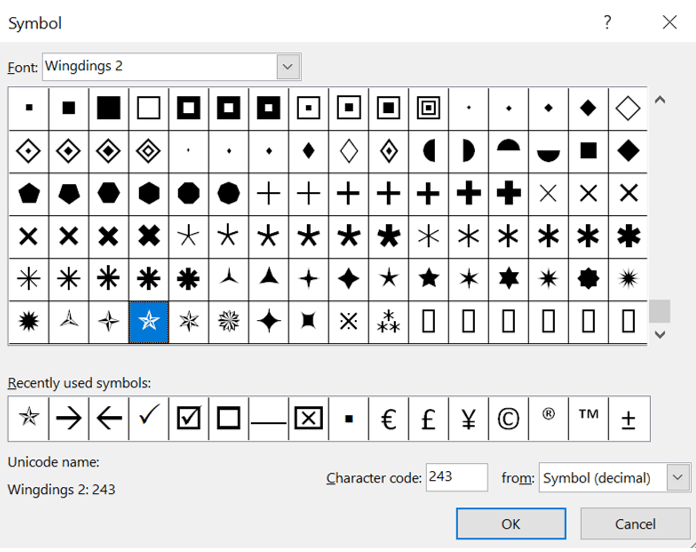
Clicking the Omega (Ω) will open the Symbol popup (same as the one found on the Insert ribbon in the Symbols group). Scroll through the list until you find the symbol you want to use, then click OK. This will turn the chosen level into a bullet with that symbol.
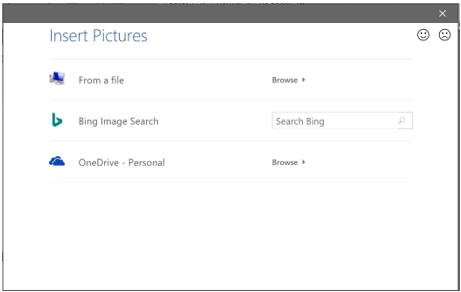
Click the Picture icon next to the Omega (Ω) to browse for a picture. You can choose an image from a file, or OneDrive if connected, or perform a Bing Image Search. Once you locate the desired image, click Insert. Review what the selected picture bullet will look like, then click OK to add it, or change the picture by repeating this step.
Finally, on this line, you may shift the indent to the left or right.

The radio buttons at the bottom refer to templates. If you are creating a document template, click the radio button that states, New documents based on this template; otherwise, leave it at Only in this document.

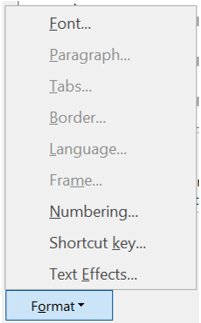
The Format drop-down menu allows you to make further modifications such as those shown below. Many of the options will be grayed out.