You’re likely already familiar with the terms “crop” and “cropping” an image. It’s when you make an image smaller by eliminating content rather than sizing the image down. Like when you have to remove your cheating-scumbag ex from all your pictures or just because there’s too much space around the subject. See examples below.

To crop an image, select the image you want to change. Click the Crop button in the Picture Format tab’s Size group or right-click the selected image and click Crop.

Basic cropping mode works much like resizing the image. Drag the image handles inward to slice off a side from the image after you’re done cropping. Click the image Crop command button again to turn off that mode.

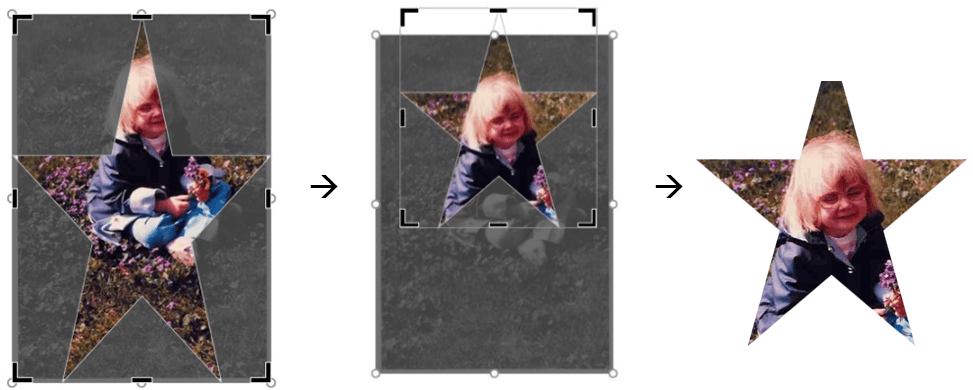
On the Picture Format tab, you may have noticed a dropdown menu under Crop. This drop-down allows you to crop to a specific shape or change the aspect ratio.

These do not work particularly well especially if the subject is not centered.
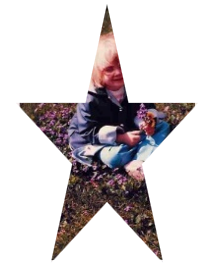
To adjust, click the image again and click the top part of the Crop button. The original will display. You can now adjust the handles and/or move the image within the shape.