Now that you’ve learned what the slide master deck is, let’s see what it does by creating a repeating image such a logo and page/slide numbers.
Create a Repeating Image
On the master slide insert a circle as we don’t have a real logo. You could instead insert an image. Head to the Insert ribbon, go to the Illustrations group, and open the dropdown for Shapes then choose the Oval. Click once for a perfect circle.
We want to make this logo white to show up against our dark backgrounds on the slides we’ve already built, but we won’t be able to see our logo against the white on our source slides. We have two options here: finish making the logo, place it and then turn it white, or if we know that we’ll want dark backgrounds on all our slides, we can make the background dark. To do this, go back to the Slide Master tab and from the Background group open the Background Styles dropdown.

For our purposes let’s choose the style in the bottom right corner, Style 12. This will make a white logo easy to spot, and since we’re changing the background on the source, the changes will cascade to all the dependent slides below which are reflected in the slide menu on the left side bar.

Now, we can finish our logo by adding text such as my initials, RN, removing the fill but leaving the shape outline, and finally coloring everything white. I’m assuming you know the basics of how to edit a shape so I won’t cover that step-by-step. Because we’ve changed the color of the background, we can see our white logo, and if we want to move it around we don’t have to worry about moving an image or shape behind the logo by accident.

Slide Numbers
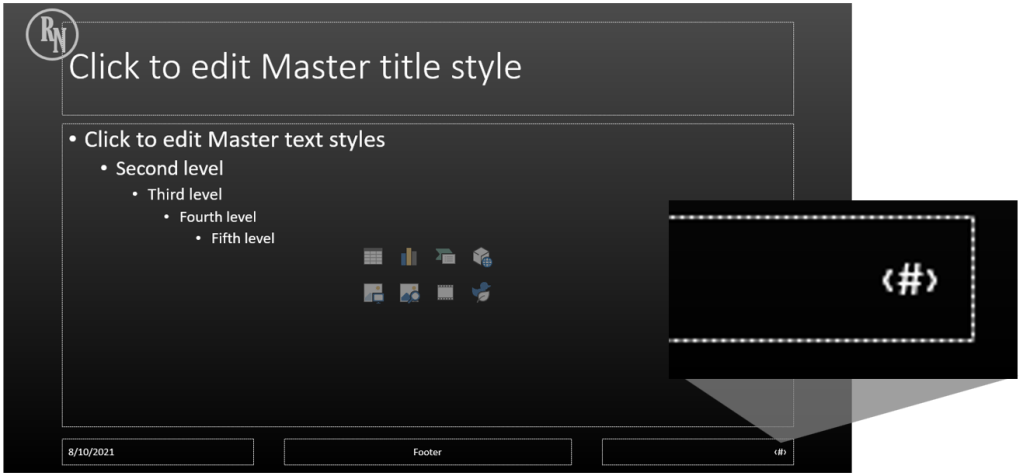
Now that we’ve made our logo, we can add slide (page) numbers, but wait. It would appear that slide numbers are already there. That little hashtag/pound symbol/number symbol inside parenthesis is for slide numbers. So, it’s already there… right?
But if we Close Master View (Slide Master tab, Close group),

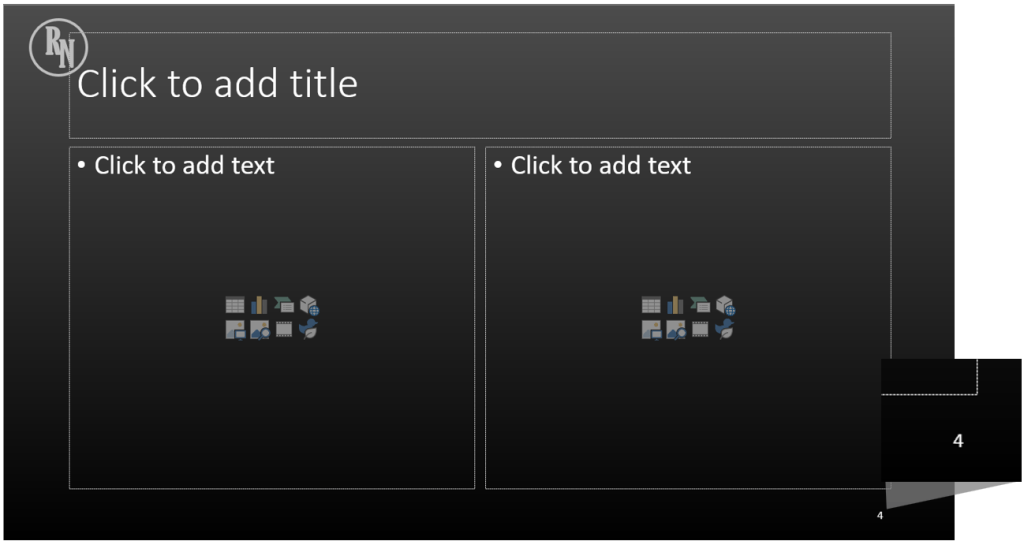
when we go back to our slides, none of those bottom three boxes appear even if we create a new slide.

What’s happening is the boxes are there, but they’re not enabled for viewing. Confused yet? The Slide Master allows you to set the location of where you want them to appear, but now you need to go to the Insert ribbon, and from the Text group, click Header & Footer if you want it to appear on the slide.

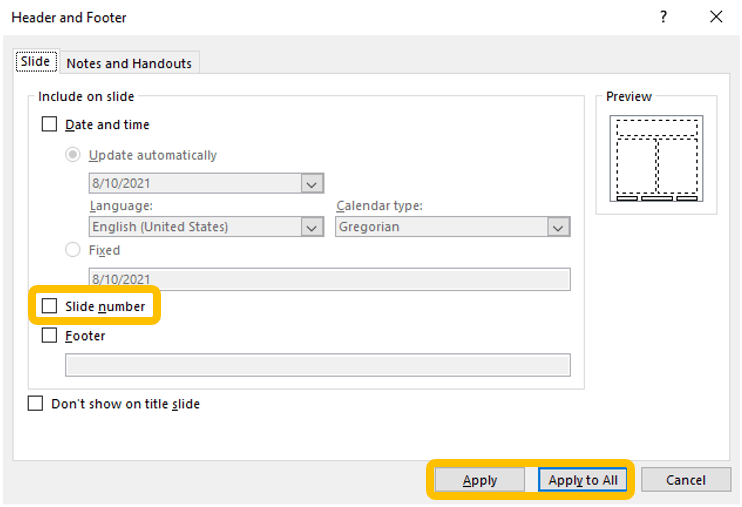
This will open the Header and Footer dialog box which has two tabs, Slide and Notes and Handouts. It will open on the Slide tab where you can check the boxes to include the Date and time, Slide number, and the Footer. The last check box allows you to remove these from any slide with the Title slide layout. To add slide numbers, check the corresponding box. When you’re done, click either Apply to active on one slide or Apply to All for, duh, all slides.
Now you have it on all slides or only the chosen slide depending on what you clicked at the end.
Even though it’s set where a footer would go, you can go back to Slide Master View and move it anywhere you want, and it will still show. Click Close Master View in the Close group of the Slide Master tab.

