
This month I’ll be covering the purpose of source slides known as the Slide Master. What is the Slide Master? Is it a view or a deck? In truth, both. It’s the information (fonts, colors, images, shapes, effects, backgrounds, footers, and more) that controls your layouts for all your slides in a given presentation. Say you have a repeating image, such as a company logo, that needs to appear on every slide, or maybe you want to show your slide (page) numbers. It’s annoying to go through every slide and place them while ensuring they are in the same general spot on each slide. Then, if you have other images or content on a slide you could accidentally move that slide number or logo, and you’d have to reset it again. Slide Master simplifies this tedium.
Note: Given today’s political climate, I anticipate that the term “master slide” will die out and these slides will be referred to as source slides in the future. I use the term master slide for navigation clarity purposes. I also use the term source slide as that is what these truly are. Consider these terms interchangeable.
Viewing the Slide Master
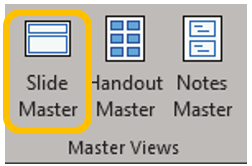
Either start from scratch with a new deck or work with the presentation you have open. Be aware that if you are creating a custom template these are the steps to do such. On the View ribbon under the Master Views group, click Slide Master.
You will be transported to a new tab which unlike other use case tabs appears as the second option in your ribbon selection.

Source Slide
As usual on the left side menu, you’ll see all the different possible layout options. The very first slide on this menu is larger than the rest. If all the slides are uniform, scroll up as this will open on the layout that you’re using. The largest slide at the top is the “master” or source slide. All others are dependent upon it.
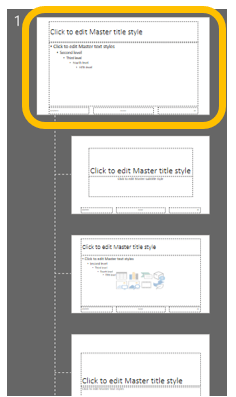
If you make a change to the source, it will cascade to all dependents. Here you can place your page/slide numbering, your logo, or whatever else you want on all slides. You’ll also note that you can add your theme here and use any of the options available on the other ribbons. Meaning you can add Transitions, Animations, set fonts and colors, etc. All these ribbons will stay open and allow you to edit the Master Slide deck until you Close Master View.

Monday, I’ll cover how to insert a repeating image.
